The spectrum analysis is an efficient way to check if a CD image was made from an original (or proper backup) or from a rebuilt "lossy" rip (iso/mp3, iso/ogg, iso/mpc, iso/vqf, etc...).
Why check ?
A CD image downloaded on the internet can have a proper TOC but that doesn't mean it is authentic.
Sadly many lamers tend to spread CD images rebuilt from "lossy" rips through hubs, newsgroups or even worse as fake original CD.
This is a completely stupid and dishonest thing do, especially because:
- The image's quality wouldn't have been worse in its original ripped form.
- The image's size is way bigger than its original ripped form.
- Useless waste of bandwidth, download way heavier for nothing.
- You have been fooled into thinking you had a clean and authentic image.
- The TOC is completly messed up if the image was rebuilt from an Mp3 rip, a Vqf rip or any other audio codec that won't restore the exact length of the original Wav.
The lossy codecs :
Mp3 , Mp3pro , Ogg , Mpc , Wma , Aac , Vqf are lossy codecs.
This means (to make it short and simple) that their compression is based on the destruction of the high frequencies that human ears can't perceive.
The lossless codecs :
Ape , Flac , Lpac , Rkau are lossless codecs.
This means they reduce the size of music without affecting the quality, as the uncompressed Wav is exactly identical to the original one.
Since we know lossy codecs are destroying high frequencies, this how we are going to check to authenticate a CD image.
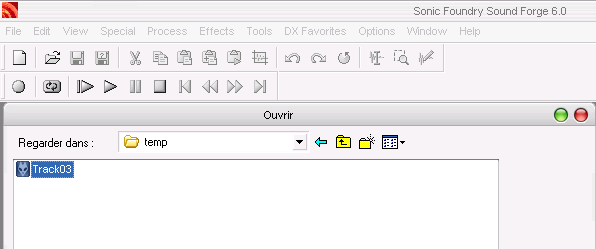
First you need to extract one of the audio tracks.
For example using CDmage or even DAEMON Tools and CDRWin :
Mount your CD image into DAEMON Tools' virtual drive then start CDRWin up.
Then click on "Extract Disc/Tracks/Sectors" :

Select the source drive (CD Reader).
Select the name and destination of the track you want to extract (Image Filename).
Check the "Select Tracks" box.
Set the reading options as on the picture below.
To select the audio (red) track to extract, simply click on it (Track 3 here).
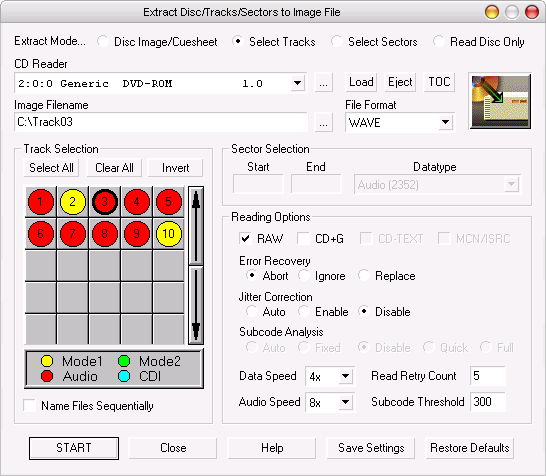
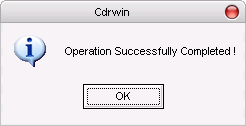
Settings done, hit 'START' to begin the extraction process :
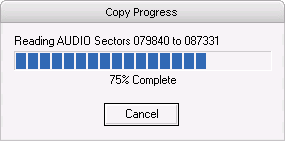
And wait until it's over :
In this example we will use Sound Forge 6.0 to perform the spectrum analysis.
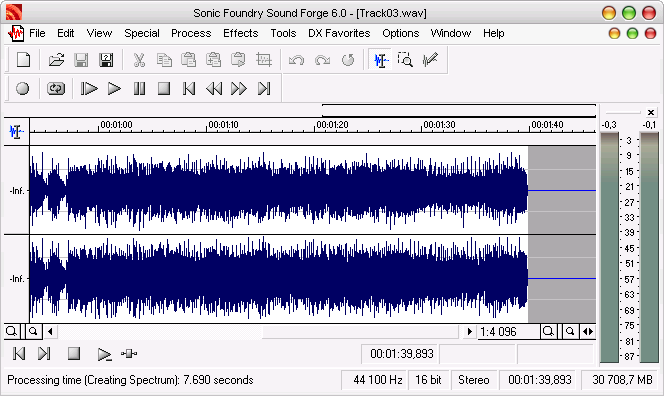
Start the program up and load the track you have just extracted (File > Open) :
You get something like this :
Select all the tracks via the top menu "Edit > Select all" :
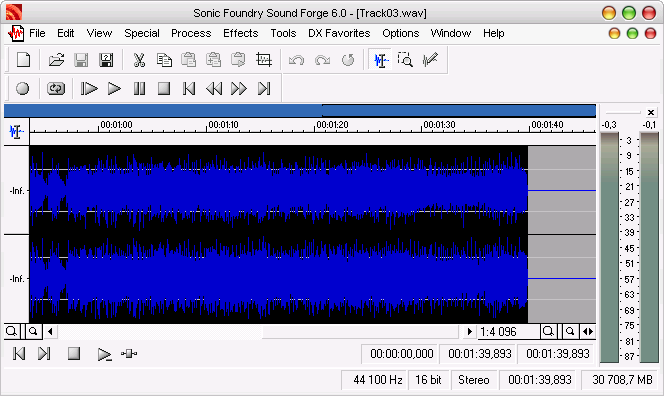
To view the spectrum hit "Tools > Spectrum Analysis...".
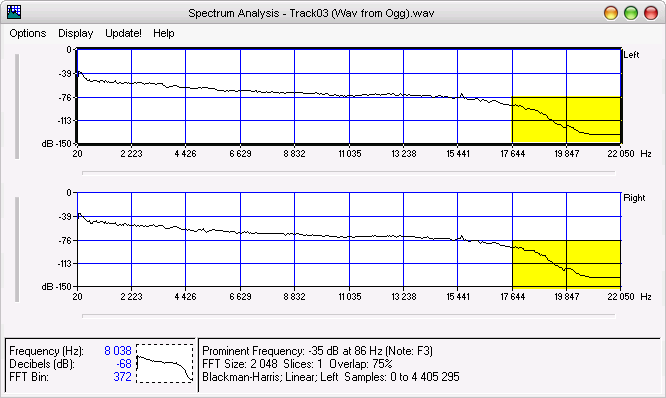
Now pay attention to the regular graphic below, especially from 15 000 Hz until the end :

Let's encode this Wav file to Ogg (- q 5.00 which is about 150 kb/s) and to Mp3 (160kb/s 44100Hz).
Then we unpack the Ogg and Mp3 files back to Wav (16 Bits 44100 Hz Stereo).
Now let's perform a spectrum analysis on the resulting Wav files :
Below is the Wav we got from the Ogg file.
You will notice a fall on the graphic from 16 000 Hz due to the destructive compression :
Below is the Wav we got from the Mp3 file.
You will notice a fall on the graphic from 15 000 Hz due to the destructive compression :
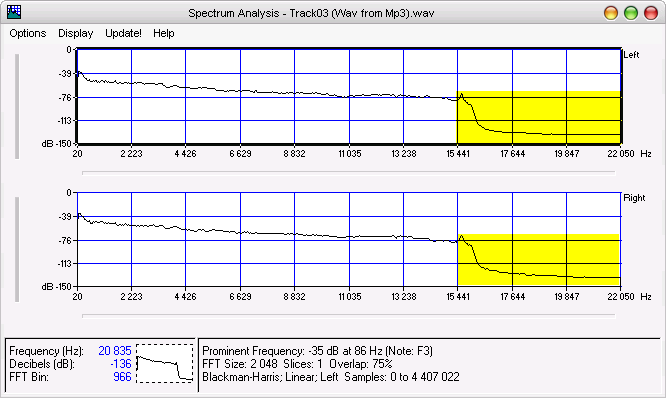
This is a revealing sign that allows you to identify a CD image rebuilt from a lossy rip :
A clear fall of the high frequencies, usually from 13 000 / 15 000 Hz depending on the codec used for the audio compression.
If you're getting a similar result , you're ready to blame the lamer that fooled you with a crappy image ;)